Preskoči na sadržaj








Solar Panel Installation Guide: Key Steps for Installing Solar Panels on Your Roof
Assessing Your Roof for Solar Panel Installation
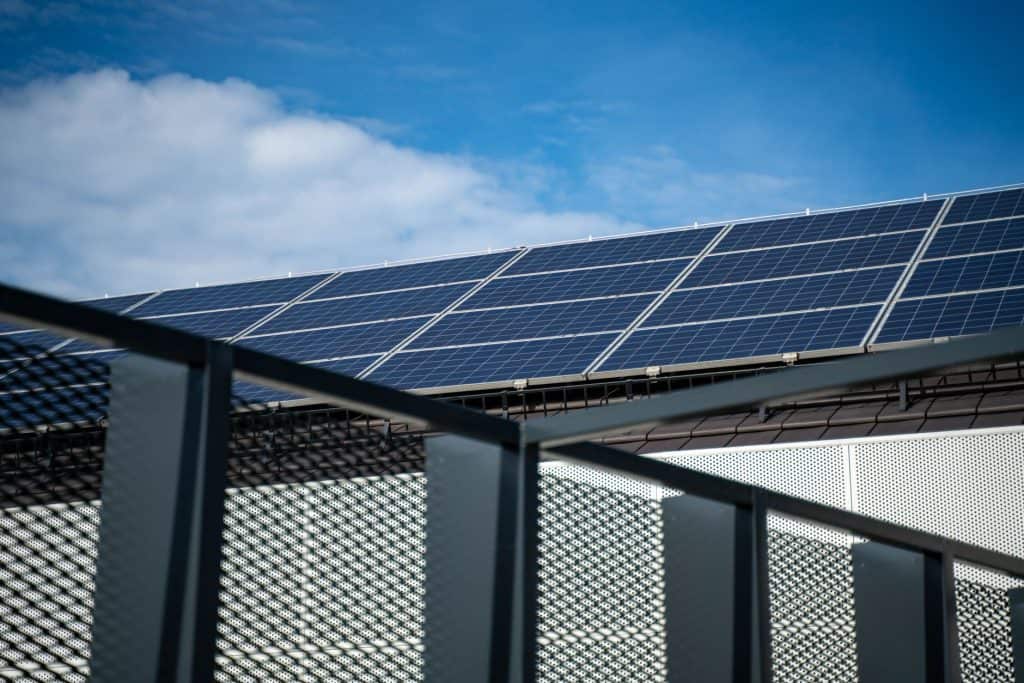
Before starting a solar panel installation, a comprehensive assessment of your roof is crucial to maximize energy output and ensure structural safety.
- Roof Orientation and Tilt Angle: The optimal orientation in the Northern Hemisphere is south-facing, with the panel surface angle close to the site’s latitude. For example, a roof tilt between 25° and 45° captures substantial solar irradiance year-round. Adjustments within ±10° of latitude optimize seasonal performance but depend on regional solar path variations measured by tools like a solar pathfinder.
- Roof Condition and Material: Inspect the roofing material—common substrates include asphalt shingles, standing seam metal, concrete tiles, or slate. Metal roofs allow clamping mounts that minimize penetrations, whereas tile roofs often require specialized hooks and flashings due to fragility. Structural load capacity must meet or exceed local building codes, which often mandate withstanding a minimum live load of 150 kg/m² plus an estimated 10–15 kg per solar panel for the rack and modules. Roof inspections should verify no signs of rot, leaks, or weakness to avoid costly retrofits post-installation.
- Available Roof Area Calculation: Individual solar panels generally measure about 1.6 m² (approx. 1m x 1.6m). When calculating usable space, subtract areas obstructed by chimneys, vents, HVAC units, or safety walkways. For instance, a 50 m² clear roof area can house approximately 30 standard panels, assuming standard spacing of 10–15 cm between panels and side access for maintenance.
- Shading Analysis: Even minor shading from trees, nearby structures, or rooftop equipment can cause panel mismatch losses. Perform shading evaluation during peak solar noon hours using shade analysis software like Solar-Pathfinder or PVsyst, or onsite tools such as a clinometer. Document shading duration and patterns throughout the year, as temporary shading (e.g., seasonal foliage) affects annual yield projections and inverter selection.
Concrete Detail: Measure roof pitch with a digital inclinometer or an architect’s pitch gauge, and confirm roof load capacity per local standards such as Eurocode EN 1991-1-1 or ASCE 7. These standards specify combined dead and live loads for structural safety, ensuring your roof can support additional solar panel weight.
Understanding Solar Panel System Components and Setup
Installing solar panels on your roof requires integrating modules and balance-of-system components to convert sunlight into usable electricity.
- Photovoltaic (PV) Modules: Standard monocrystalline or polycrystalline silicon panels produce 300–400 W each. Panel efficiency ranges between 18–22%. Manufacturers like LG, SunPower, and REC provide panels tested under IEC 61215 to ensure durability and performance stability.
- Invertori: Convert DC electricity generated by PV modules into AC power suitable for household use. String inverters connect series strings of panels, while microinverters attach to each panel independently, reducing shading and mismatch losses. For example, Enphase IQ microinverters offer module-level monitoring via proprietary software and facilitate easier fault detection.
- Mounting Racks: Systems include flush mounts for pitched roofs and ballasted or penetrating mounts for flat roofs. Materials must resist corrosion; aluminum or stainless steel are common. Mounting hardware must comply with local wind load regulations, e.g., designed to withstand winds up to 120 km/h per AS/NZS 1170.2 or local equivalents.
- Grid-Tied vs Off-Grid Systems: Grid-tied systems synchronize output with utility grids, enabling feed-in tariffs or net metering. Off-grid requires battery storage, such as lithium-ion or lead-acid batteries, and charge controllers to maintain power during outages. Hybrid systems combine both for energy independence.
- Solar Kits for DIY Installation: Kits contain PV panels, inverters, mounting components, wiring, junction boxes, disconnect switches, and detailed wiring schematics complying with NEC Article 690 or local electrical codes. They are suitable for experienced individuals capable of handling AC and DC electrical work and navigating permitting requirements.
- Wiring and Safety: Wiring must use appropriately rated conductors, typically copper with insulation rated for outdoor exposure (e.g., USE-2 or PV Wire). Junction boxes provide secure connections, and rapid shutdown devices are mandated by NEC 690.12 for emergency isolation. Disconnect switches located at accessible points ensure safe maintenance.
Concrete Detail: In a typical Enphase IQ microinverter configuration, the microinverter mounts under each panel, with data and power cables routed to a combiner box before the AC output connects to the main electrical panel. This arrangement facilitates isolated fault diagnosis and complies with IEEE 1547 interconnection standards.
Permitting and Regulatory Compliance for Solar Installation
Permits ensure solar installation adheres to safety, electrical, and structural codes overseen by municipal authorities and utility companies.
- Necessary Permits: Typical permits include a building permit for structural modifications, an electrical permit for wiring, and grid interconnection authorization. Submission usually requires detailed system design documents, one-line wiring diagrams, structural mounting plans, and equipment specifications.
- Submission and Approval Process: Permit review takes 4 to 8 weeks depending on local authority workload. Authorities may request clarifications, adjustments to system design, or evidence of compliance with electrical codes such as NEC 2023 or IEC 60364 series.
- Safety Standards: Modules must be certified to IEC 61215 (crystalline silicon) and IEC 61730 (safety standards for PV modules). Inverters and electrical equipment require UL 1741 or CE marking compliance. Installation practices follow NEC or equivalent local electrical codes to minimize risks of fire or electrical shock.
- Inspections: Municipal or utility inspections occur pre-installation to verify structural plans and post-installation to confirm wiring integrity, grounding, and equipment labeling. Successful inspections result in a permission-to-operate certificate enabling grid connection.
Concrete Detail: Inspection checkpoints are scheduled before any roof mounts are installed and after all electrical work is complete, typically within 1–3 days in jurisdictions with established solar programs.
Step-by-Step Solar Panel Installation Process
This step-by-step process outlines the sequence for installing solar panels on your roof according to system design and safety protocols.
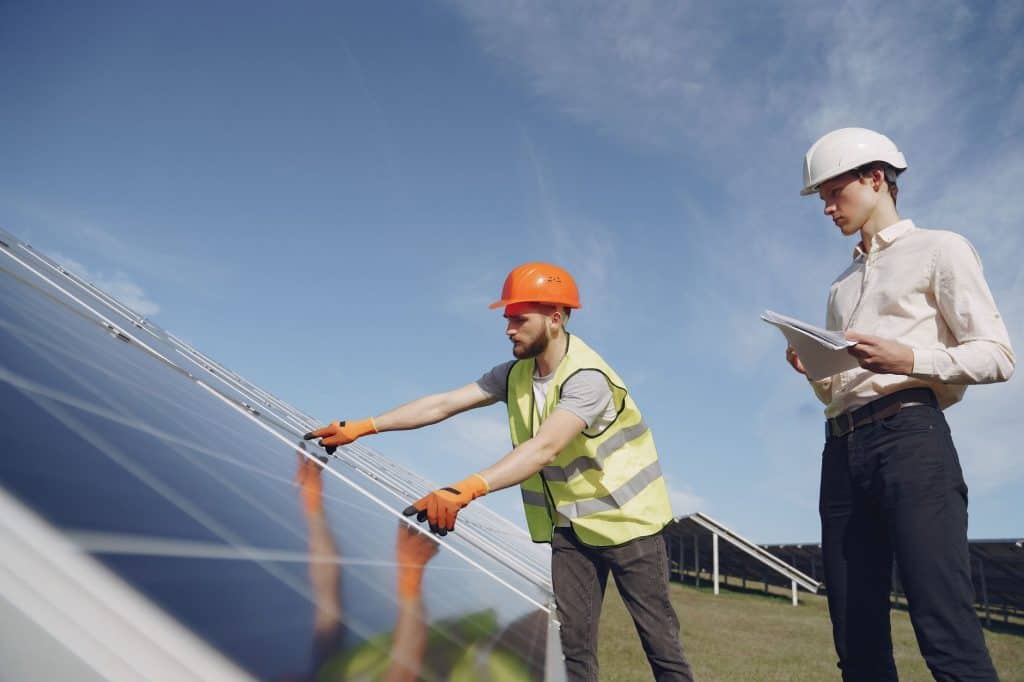
- Site Preparation and Layout Marking: Using detailed system design drawings, installers mark optimal panel placement, considering shading data and roof structure. Precise measurements ensure panels align with racking components and electrical conduit paths.
- Mounting Hardware Installation: Mounts and flashings are attached to roof rafters or trusses, using lag bolts or specialized anchors. Waterproof flashing seals the penetrations to prevent leaks. For example, metal roof clamps avoid penetrations, while tile hook mounts require removal and reinstallation of tiles with sealing.
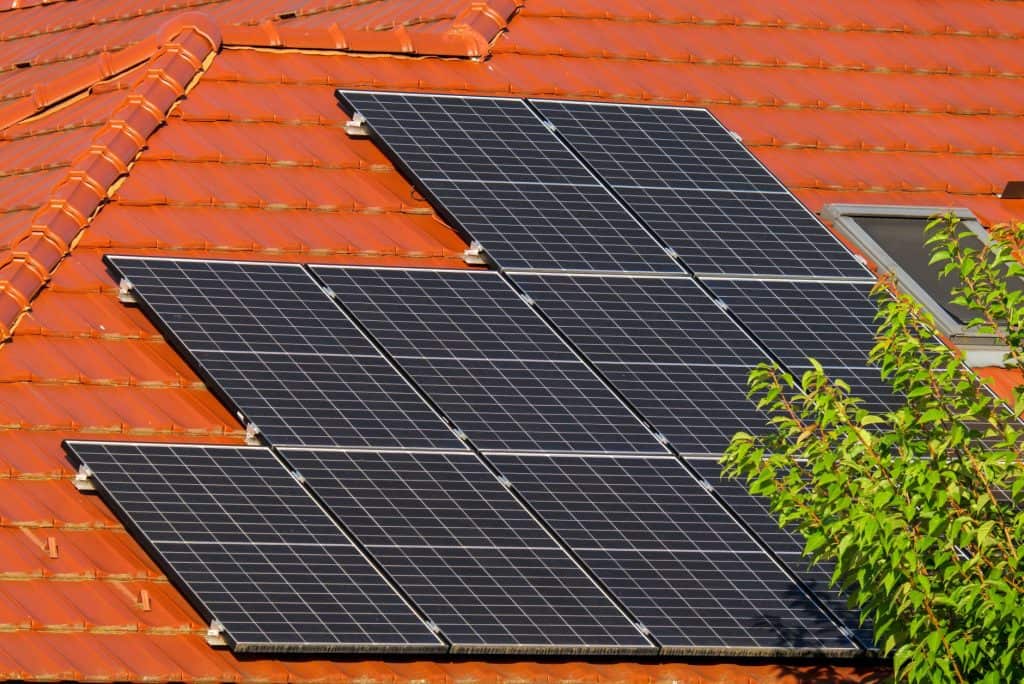
- Panel Mounting and Wiring: Panels are secured to racks with manufacturer-supplied clamps. DC cables are connected using MC4 connectors rated for 1,000 V DC and appropriately sized for current. Cables run through UV-resistant conduit to the inverter location.
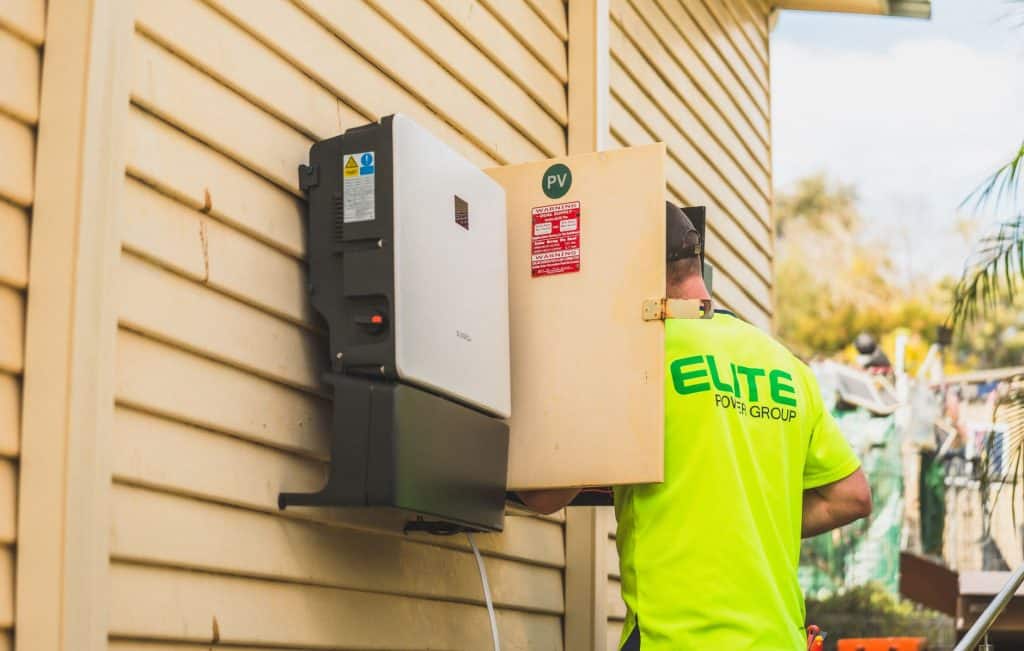
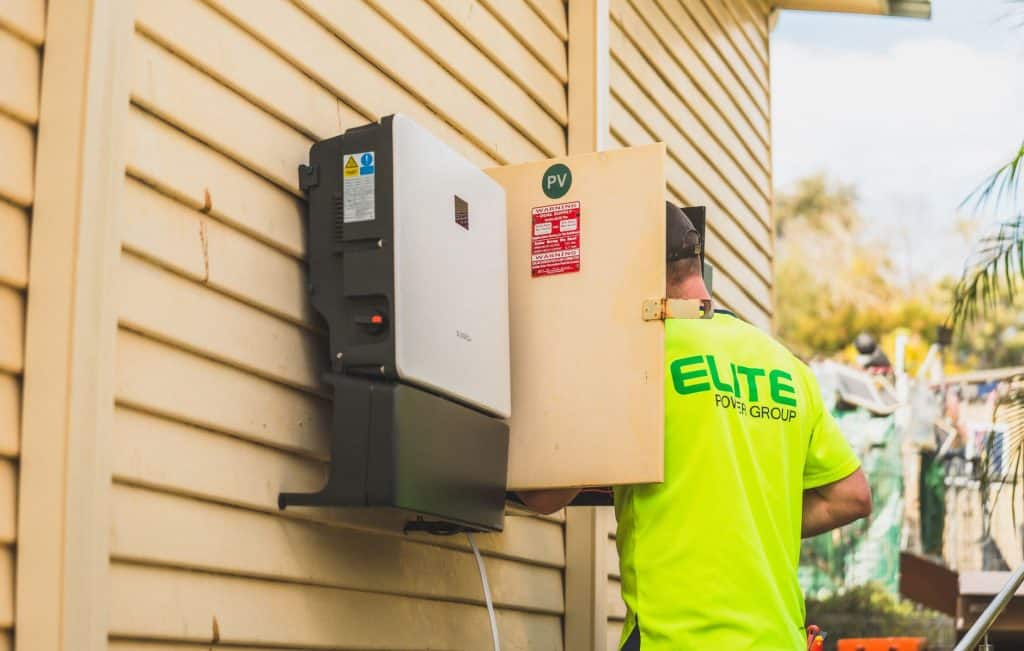
- Inverter Installation and Securing: String inverters mount near the main electrical panel; microinverters install beneath panels. All electrical connections undergo torque verification and polarity checks per manufacturer instructions and NEC 690 standards.
- System Testing and Commissioning: Perform insulation resistance testing (megger test) to detect wiring faults. Functional tests verify inverter startup and power output. Coordinate with utility to energize the system once inspection approvals and net metering agreements are finalized.
Concrete Detail: A safe electrical hookup follows a sequential procedure: first isolate incoming service, then establish proper grounding with a dedicated grounding conductor, connect PV array DC positive and negative leads to inverter input terminals, finish with AC output wiring to the main breaker panel, and complete a system function test before energizing.
Common Solar Panel Installation Tips and Best Practices
Applying these solar panel installation tips improves system durability and energy yield.
- Seal Mounts and Flashing Properly: Use industry-standard sealants such as polyurethane or butyl rubber combined with metal flashing kits specifically designed for the roofing type to prevent water ingress at mounting points.
- Employ Microinverters Where Shading Occurs: Microinverters mitigate energy loss from partial shading or panel mismatch by operating each panel independently. This approach outperforms traditional string inverters in variable shading environments, backed by studies indicating up to 15% higher yields.
- Regular Cleaning of Panels: Depending on dust accumulation and pollen loads, clean panels 1–2 times per year using soft brushes or low-pressure water without detergents to avoid damaging anti-reflective coatings.
- Remote Monitoring: Systems with inverter-integrated monitoring platforms enable real-time performance tracking via smartphone apps or desktop dashboards, facilitating prompt detection of drop-offs in energy production signaling faults or maintenance needs.
Concrete Detail: Recommended cleaning frequency, adjusted per environment, varies from once annually in high-rainfall locations to twice or more annually in arid, dusty regions, balancing maintenance costs with yield improvements.
Estimating Project Timeline and Costs for Residential Solar Installation
Budgeting and timeline expectations are essential for planning your solar panel installation project.
- Typical Installation Timeframes: Residential solar projects generally require 6–12 weeks from contract to commissioning. This includes 1–2 weeks for site assessment and design, 4–8 weeks for permitting and interconnection approval, 1–3 days for physical installation, and up to 1 week for final inspections and grid connection scheduling.
- Cost Components: Costs break down into equipment purchase—including panels (300–400 W, 600–800 €/kW), inverters and BOS (150–250 €/kW), and mounting and electrical labor (250–350 €/kW)—plus permits and inspection fees (50–100 €/kW). Labor costs depend on roof complexity and installer experience.
- Local Incentives and Impact on Costs: Research government tax credits, rebates, or feed-in tariff programs available in your area, as they significantly reduce upfront costs or improve payback periods. Incentive levels and eligibility criteria vary by country and region.
- Effect of Installation Scale: Larger systems benefit from reduced per-watt costs as fixed labor and permitting fees spread over more equipment. A 10 kW installation often achieves 10–15% lower cost per watt compared to a 3 kW system.
| Cost Component | Estimated Cost (€ per kW) | Notes |
|---|---|---|
| Solar Panels | 600–800 | Depends on panel efficiency and manufacturer |
| Inverters and BOS | 150–250 | Microinverters fall towards the higher range |
| Mounting & Electrical Labor | 250–350 | Roof complexity and region affect labor intensity |
| Permits and Inspections | 50–100 | Varies by local government and utility fees |
| Total | 1050–1500 | Typical for residential solar panel installation |
Integrating Solar Installation with Garden Community Benefits
Solar Plus Garden uniquely combines solar panel installation with community and agricultural benefits through a structured solar investment and membership model.
- Support for 10 MW Community Solar Plant: Investments are aggregated to fund a 10 MW solar plant, benefiting from economies of scale and enabling small and medium investors to participate under a transparent, regulated structure.
- Member-Funded Garden Activities: Garden membership fees finance community initiatives such as regenerative agriculture and local environmental projects, creating social value alongside clean energy production.
- Agrivoltaics Synergy: The project explores agrivoltaic systems that integrate solar arrays with agricultural land use, improving land efficiency and diversifying community returns through local food production.
- Transparent Payment and Escrow Models: Legally distinct entities in Estonia (Solar Plus Garden OÜ) and Serbia (solar plant-operating DOO) ensure clear financial flows and investor protection. Membership requires a €200 one-time fee plus optional monthly Garden box fees (€20/month) for 18 annual deliveries of fresh local produce.
Concrete Detail: The Garden’s financial model channels membership fees and solar revenue into community and agricultural projects managed under escrow-like controls without unauthorized fund usage, supported by clear reporting and investor-ready transparency.
Često postavljana pitanja (FAQs)
What roof types are suitable for solar panel installation?
Solar panels can be installed on common roof types including asphalt shingles, standing seam metal, concrete or clay tiles, and slate, provided the roof has structural integrity and minimal shading. Flat roofs typically require ballasted mounting systems with appropriate tilt frames to optimize solar incidence angles.
Do I need a professional to obtain permits for my solar installation?
While some areas allow DIY permit submissions, usually licensed solar installers or electricians handle permitting to ensure compliance with local building and electrical codes, improving approval speed and reducing errors.
How long does it take from starting the installation process to system activation?
The average timeframe ranges from 6 to 12 weeks, covering site assessment, permitting, installation, inspections, and final utility interconnection approval.
Can I install a solar system myself using a solar kit?
DIY solar kits provide pre-selected components and detailed instructions. However, national or local regulations often require licensed professionals for the electrical aspects to comply with safety standards and pass inspections.
Zaključak
To install solar panels on your roof, thoroughly assess your roof’s suitability, select appropriate system components, and engage with permitting authorities early. Decide between professional installation and a DIY solar kit based on your expertise and local regulations. Aligning your solar investment with community models such as Solar Plus Garden can amplify environmental and social benefits. Keep abreast of evolving standards, technologies, and regulatory changes to optimize your solar installation and achieve energy independence efficiently.