Ga direct naar de inhoud






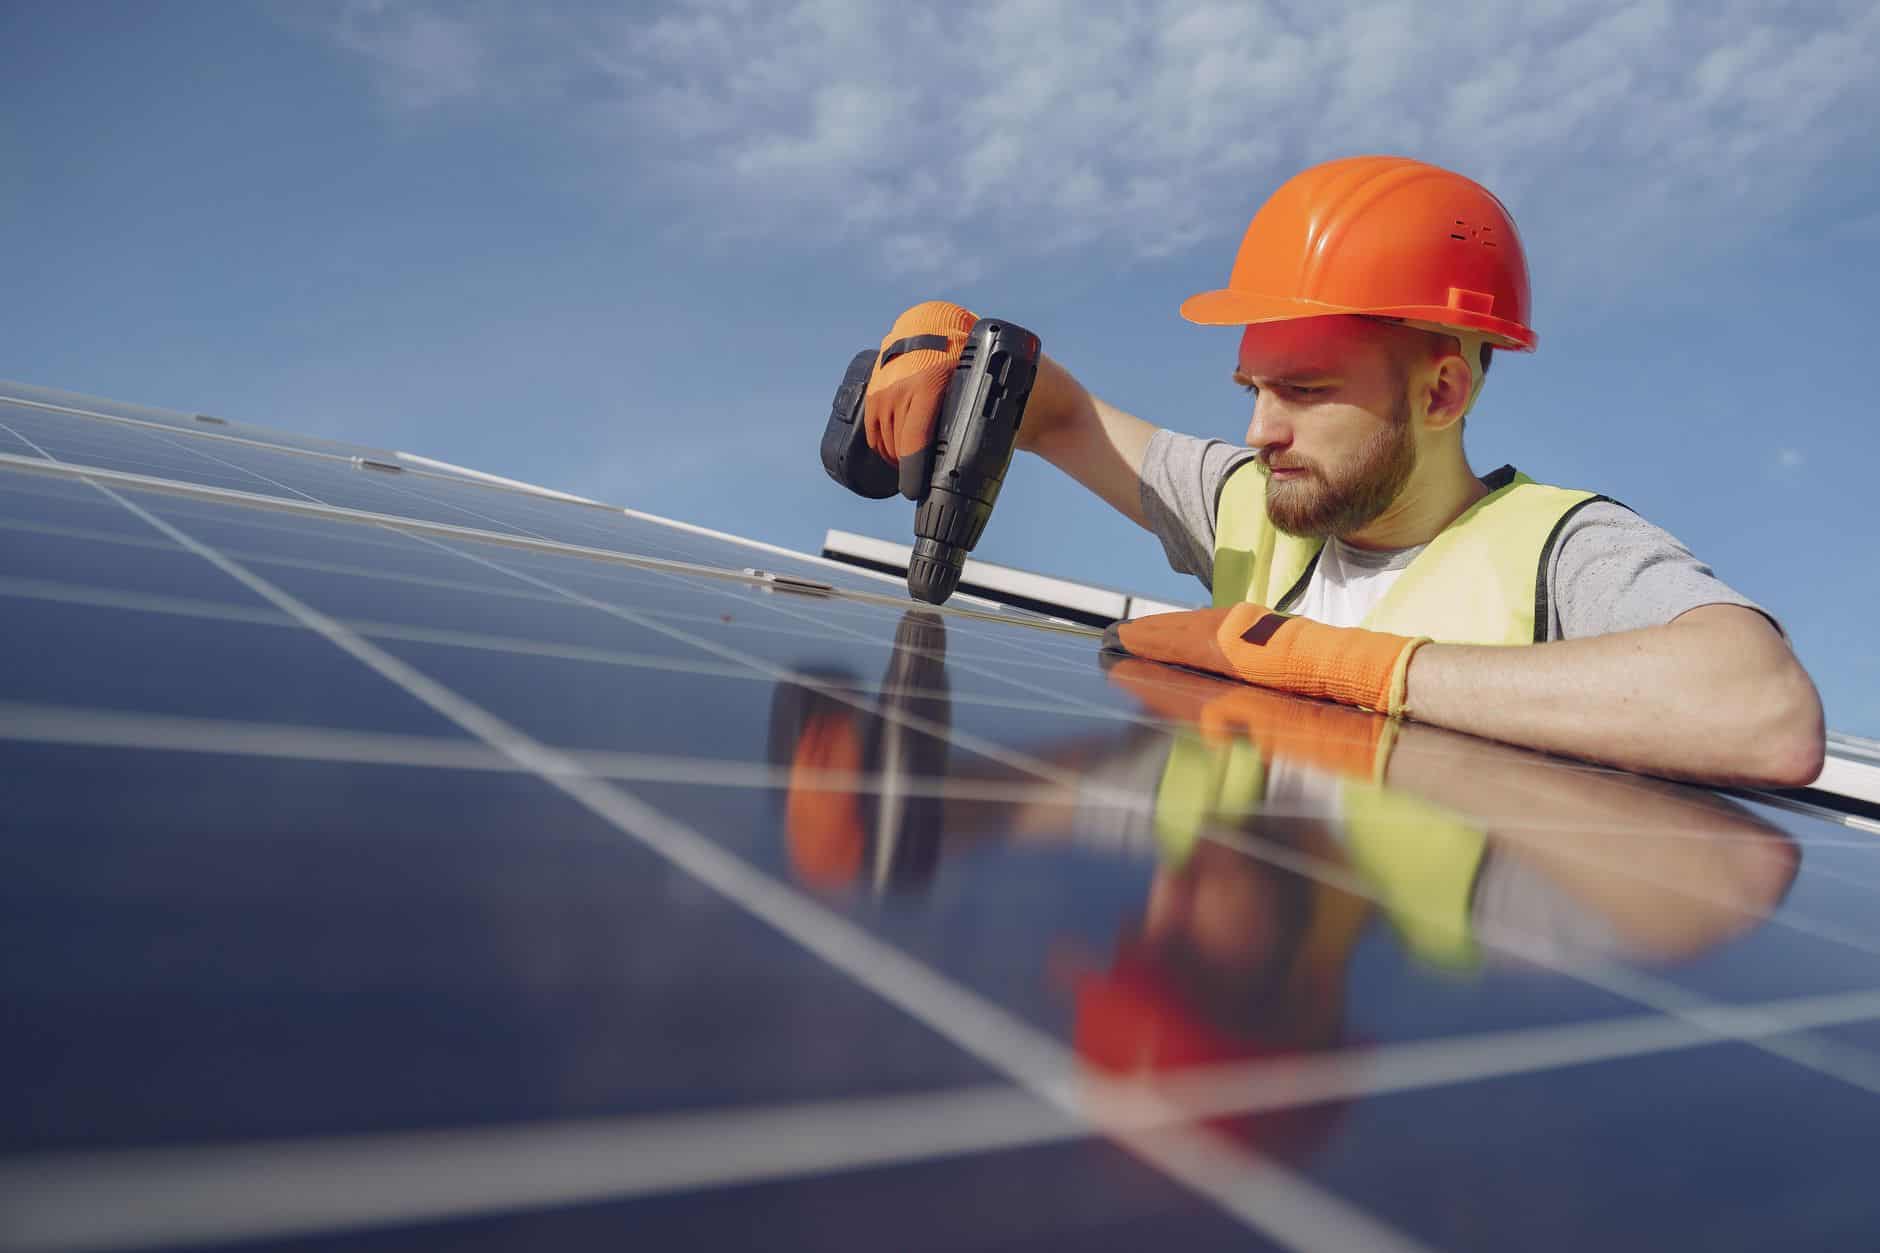
How to Install Solar Panels: Step-by-Step Setup for Home Systems
Assessing Your Location and Roof Suitability for Solar Panel Installation
Proper assessment of location and roof characteristics is the first step to install solar panels effectively. This evaluation impacts the energy yield of the solar power system and assures safety compliance during and after installation.
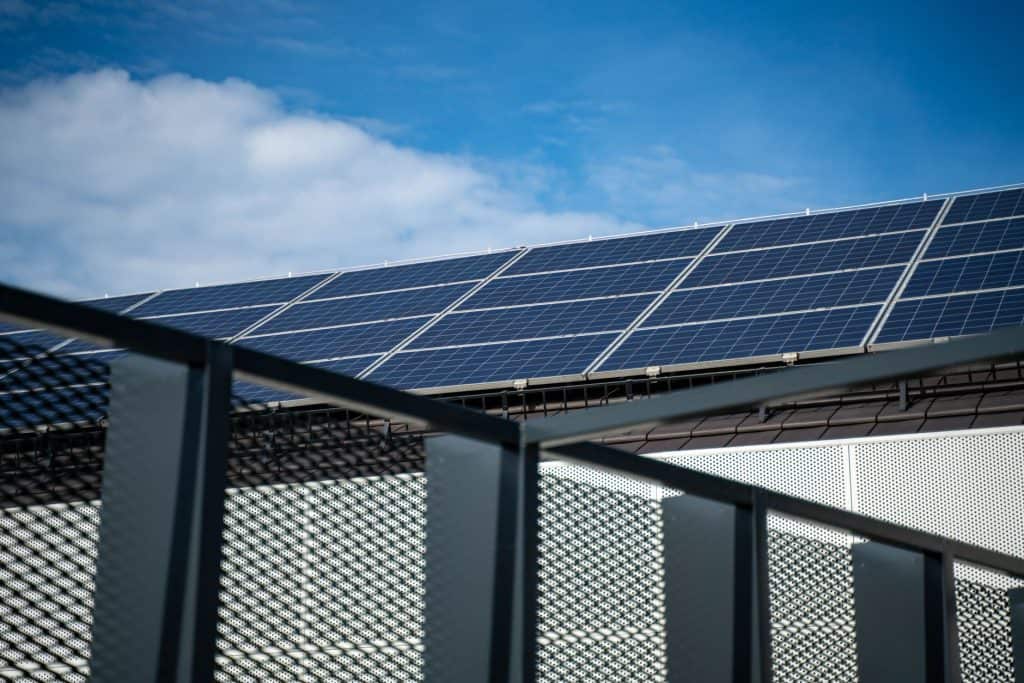
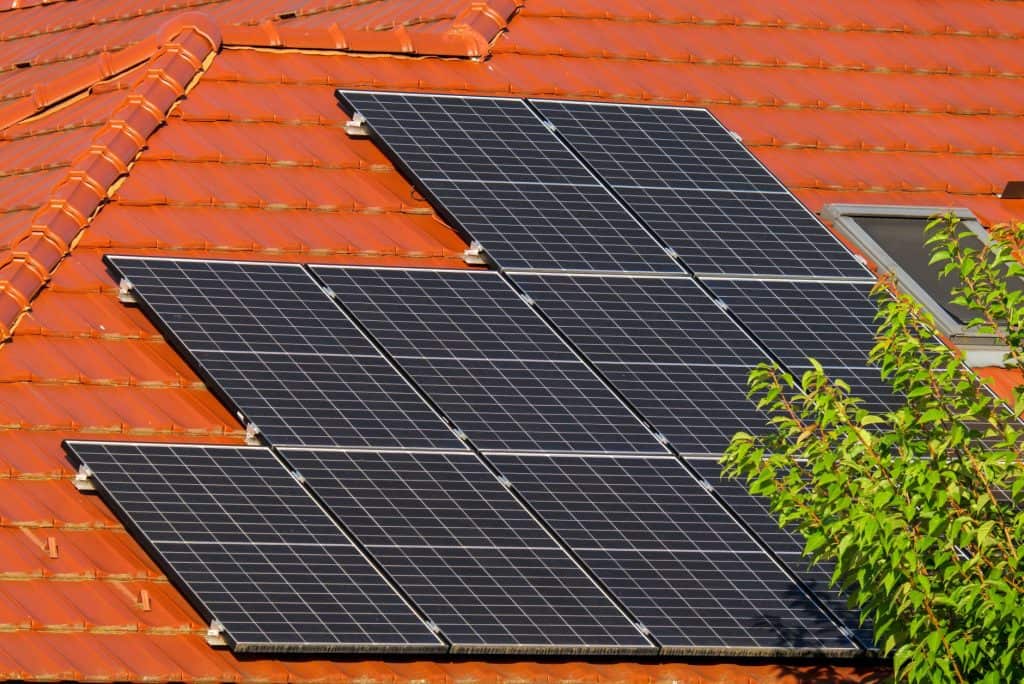
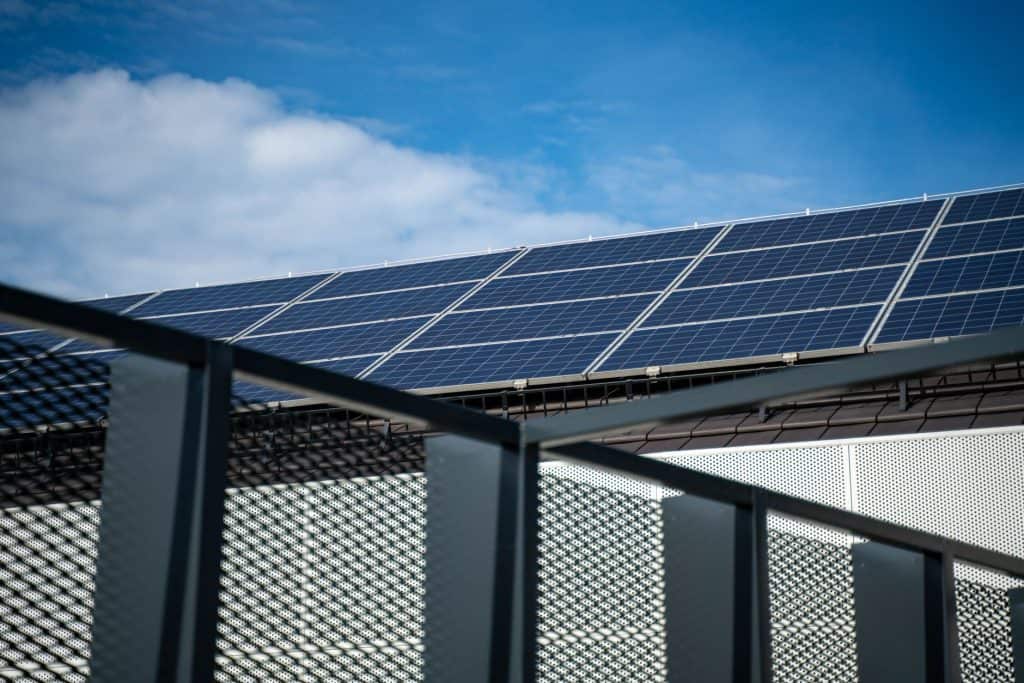
Roof orientation directly affects irradiance received by the solar panel array. In the Northern Hemisphere, a south-facing roof with an azimuth angle within ±15° from true south optimizes annual solar energy capture. Roof tilt angles generally between 20° and 40° balance winter and summer solar angles, optimizing insolation. Deviations beyond this range reduce panel output.
Measuring available roof area involves calculating unobstructed, shaded-free space in square meters. Shading from trees, chimneys, rooftop equipment, or neighboring buildings causes power losses and potential hotspot damage, verified through shade analysis tools like solar pathfinders or software modeling.
Building codes such as the International Residential Code (IRC) or local equivalents require that roofs support the additional static and dynamic loads of solar panels and mounting hardware—typically adding 5–10 kg/m². A structural engineer’s assessment or permit authority confirmation ensures safe load-bearing capacity.
Climate factors including snow load (typically specified in kilograms per square meter), wind load following ASCE 7-22 standards or local regulations, and precipitation impact panel selection, mounting design, and durability specifications. For instance, in high snow areas, racking must allow snow shedding and accommodate additional weight.
Concrete details: Aim for 20°–40° roof tilt, maintain orientation within ±15° of due south, verify roof load capacity meets all relevant building codes (e.g., IRC or local standards), and confirm shading-free area measured by solar pathfinder or equivalent methods before proceeding with installation.
Selecting Solar Panels and Balance of System Components
Kiezen fotovoltaïsch modules and balance of system (BOS) components determines the system’s performance and robustness throughout its operational life.
Residential solar panels range mostly from 250 W to 400 W rated capacity per module under Standard Test Conditions (STC: 1,000 W/m² irradiance, 25°C cell temperature). Higher wattage panels reduce the number needed but may cost more initially and require compatible mounting.
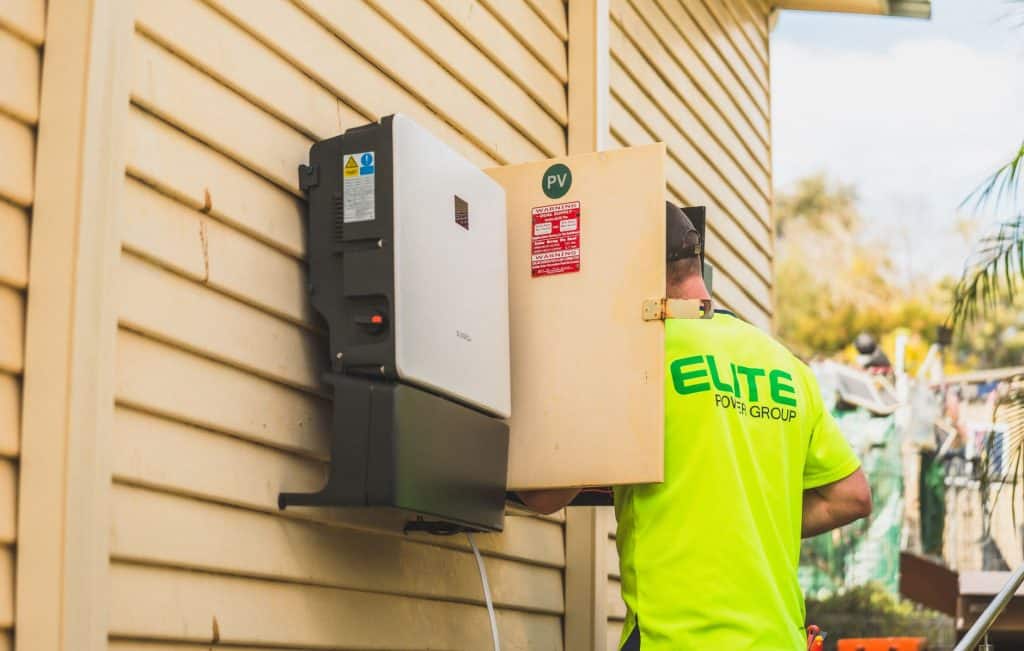
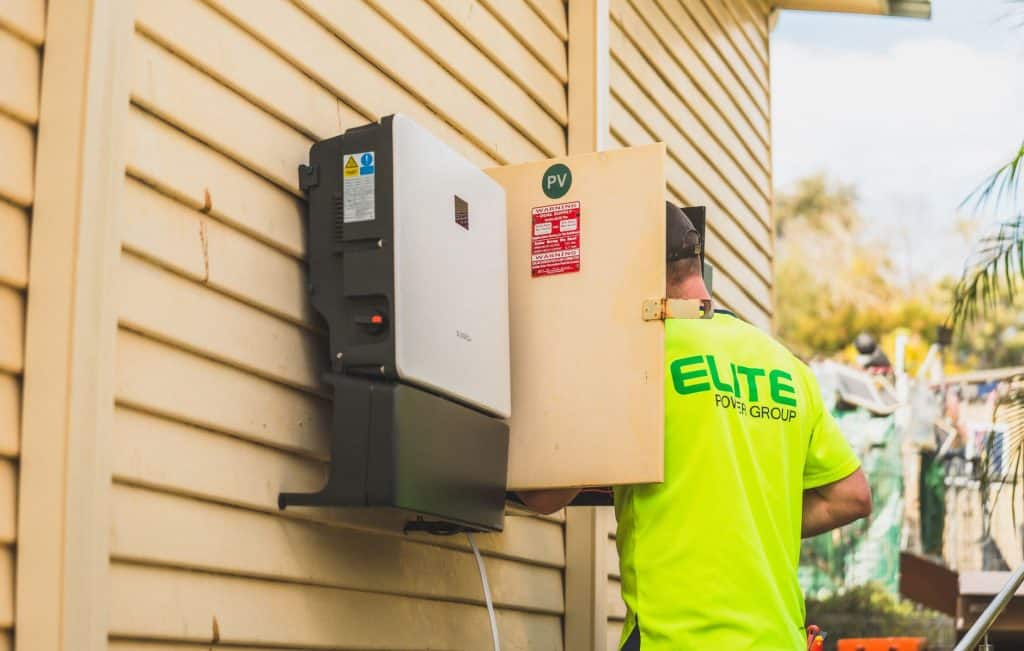
The BOS includes inverters, charge controllers (in systems with batteries or portable power stations), mounting hardware, wiring, disconnect switches, and monitoring equipment. Inverters convert the DC electricity generated by the panels into AC electricity suitable for household appliances. Types include string inverters (centralized for arrays), microinverters (one per panel for panel-level maximum power point tracking), and power optimizers (panel-level DC optimization combined with a string inverter).
Battery-based systems utilize charge controllers—MPPT (Maximum Power Point Tracking) models are preferred for efficiency—regulating voltage and current to prevent overcharge or deep discharge, extending battery lifespan. For portable power stations integrated with solar arrays, compatible charge controller settings are essential.
The system size is usually sized based on average household consumption, with typical home solar installations ranging between 3 kW and 6 kW. Panel quantity multiplies accordingly. Wiring design balances voltage and current: Series wiring sums voltages while keeping current constant, increasing inverter input voltage; parallel wiring sums currents, keeping voltage stable, reducing the risk of inverter input over-voltage but increasing current demands on wiring.
Wire gauge must be rated to carry the maximum current with minimal voltage drop under NEC or IEC wiring standards. Typically, 10–14 AWG copper conductors are used, with 10 AWG suitable for currents up to approximately 30 A continuous. Voltage drop limits typically stay under 3% over wire length.
Concrete details: Panels rated 250–400 W, coupling with MPPT charge controllers if batteries or portable power stations are used; inverter capacity matched to total system wattage (i.e., 3–6 kW residential systems); wiring sized 10–14 AWG copper conductors chosen based on maximum current and distance to comply with NEC 2020 or IEC 60364-7-712 for photovoltaic installations.
Preparing the Roof and Mounting Solar Panels Safely
Roof preparation and hardware installation are crucial to maintain structural integrity and durable weatherproofing during the solar panel installation process.
Begin with a condition survey identifying any roof defects and assess the need for structural reinforcements. Older roofs with roofing materials at the end of lifespan should be repaired or replaced before mounting solar panels to avoid premature teardown.
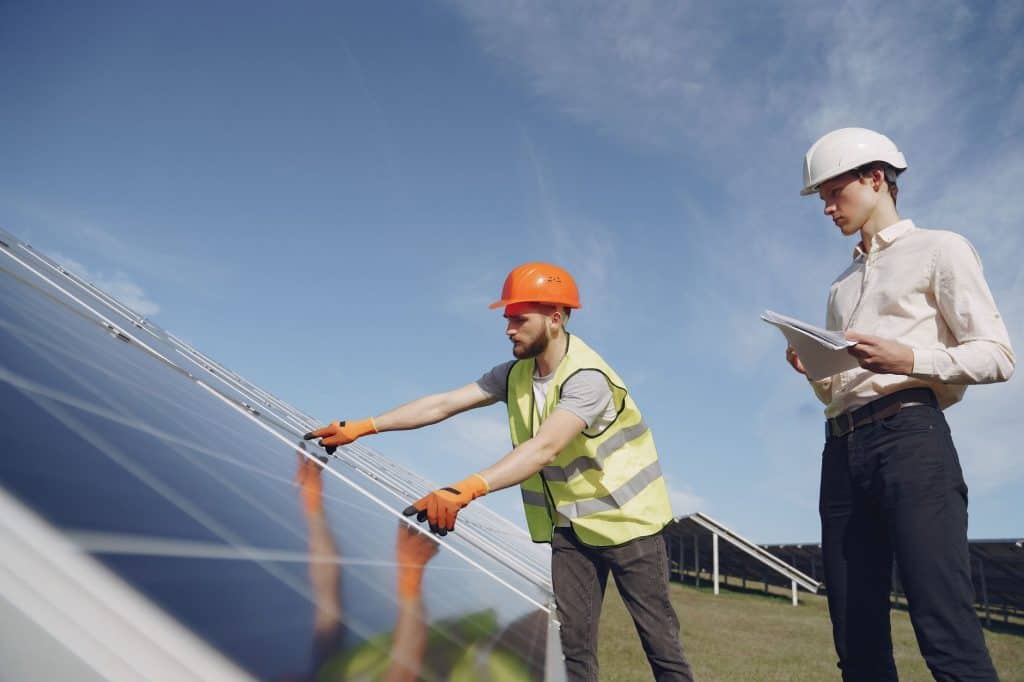
Mounting systems include rails, clamps, and brackets secured with lag bolts or anchors penetrating the roof. Installers use flashing—weatherproof membranes or metal seals—to prevent water ingress at penetration points. Techniques follow manufacturer installation guides and local best practices.
Racking spacing corresponds to panel size and model; typical distances between mounting points range from 0.8 to 1.5 meters (depending on panel dimensions and snow/wind load requirements) to enable proper airflow underneath panels (increasing system efficiency by cooling) and mechanical stability.
All fasteners must be torqued to manufacturer specifications, commonly between 10–15 Nm, using calibrated torque wrenches. Over- or under-tightening can lead to hardware failure or leaks, so this precision is part of the installer’s quality control protocol.
Concrete details: Flashing installed at each roof penetration, mounting rails spaced 0.8–1.5 meters apart tailored to panel size and environmental loads, and fastener torque values strictly followed within 10–15 Nm to ensure secure, waterproof mounting.
Electrical Wiring and Connecting the Solar Power System
Proper wiring completes the electrical circuit between the solar panel array, the inverter, battery or portable power station (if any), and the consumer load.
Solar panels are wired in series to increase array voltage, which reduces current and line losses over distances, or in parallel to increase current at constant voltage and mitigate shading or panel mismatch effects. Large residential arrays often use a combination of series strings connected in parallel.
Electrical connections adhere to codes such as the National Electrical Code (NEC 2020) in the US or IEC 60364 series internationally, which specify conductor sizing, overcurrent protection, disconnect requirements, and system grounding methods. For example, NEC 690 covers photovoltaic systems including required rapid shutdown devices.
Wire sizes—typically between 10 and 14 AWG copper conductors—are chosen by calculating maximum circuit current multiplied by a safety margin (usually 125%) and voltage drop considerations, per NEC Table 310.15(B)(16) or IEC standards.
Charge controllers, if part of the system, connect directly between the solar array and batteries or hybrid inverters, regulating charge current and voltage. Grounding protects system components and personnel, with grounding conductor dimensions and electrode types specified in NEC Article 250 or IEC 60364-4-41.
Concrete details: Wires sized 10–14 AWG based on calculated current and distance, series versus parallel wiring configured according to inverter input voltage limits, NEC 2020 or IEC 60364 compliance mandatory, and grounding following Article 250 or IEC 60364-4-41 guidelines to reduce electrical hazards.
Testing the Solar Panel Installation and System Commissioning
After installation, thorough testing and commissioning confirm the solar power system meets design criteria and safety standards prior to operation.
Insulation resistance tests are performed using megohmmeters, with values above 1 megaohm (MΩ) indicating acceptable insulation integrity of wiring and modules. These tests detect moisture ingress or damaged insulation that may cause faults.
Electrical continuity tests verify proper conductor connections and polarity. This includes checking positive and negative leads are correctly wired to avoid inverter damage or malfunctions.
The inverter start-up follows manufacturer-specific procedures, including verifying input voltage within allowable range (often 150–600 V DC for string inverters), absence of fault codes, and stable grid connection for grid-tied systems. Initial production is monitored to confirm power output matches expected system capacity adjusted for irradiance conditions.
System monitoring devices are calibrated and tested for accurate real-time measurement of voltage, current, and energy yield. This enables operators to detect performance drops or faults quickly.
Concrete details: Minimum insulation resistance >1 MΩ, inverter input voltage checked against manufacturer limits (e.g., 150–600 V DC), and commissioning includes calibration of monitoring software for voltage, current, and energy data accuracy.
Maintaining Solar Panels and Ensuring Long-Term Operation
Regular maintenance minimizes efficiency losses and protects investment over the system’s expected 25-30 year lifespan.
Cleaning schedules depend on local dust and pollution levels: quarterly cleanings in dusty or arid environments, versus annual inspections and cleaning in cleaner climates. Cleaning methods range from water rinses to using soft brushes and nonabrasive detergents recommended by panel manufacturers.
Hardware inspections at least annually check for corrosion, loose bolts, or damage caused by wind or thermal cycling. Early detection prevents system downtime or safety risks.
Inverter and BOS components should be tested or inspected following manufacturer maintenance intervals, often annually. Monitoring fault logs or error indicators can reveal deteriorating components requiring replacement. Warranties typically span 10 to 25 years for panels and inverters—maintenance records support warranty claims.
Concrete details: Cleaning frequency varies from quarterly in dusty regions to annually elsewhere, mounting hardware inspected yearly, and inverter/BOS components evaluated per manufacturer intervals with typical warranties ranging 10–25 years.
Common Challenges and Solutions during Home Solar Panel Installation
Several common technical and regulatory challenges arise during home solar panel installation that must be managed effectively.
Shading from obstacles reduces energy yield significantly; bypass diodes integrated within panels mitigate induced hotspot damage by allowing current to bypass shaded cells. Microinverter systems decentralize power conversion at each panel, minimizing shading impact and allowing panel-level performance monitoring.
Complex or irregular roof layouts require careful design of wiring and mounting to conform to local electrical codes and ensure safe, durable installation. This often entails conduit routing, appropriate junction boxes rated for outdoor photovoltaic use, and legible labeling per NEC 690.31(E).
Permit processes typically require submitting detailed electrical and structural plans, obtaining inspections, and approval before grid connection. Permit approval durations typically range between 2 and 6 weeks depending on jurisdiction and application completeness.
Risks of roof damage from improper penetrations or flashing installation are mitigated by hiring qualified solar installers experienced in waterproof methods and structural attachment consistent with UL 2703 mounting standards.
Concrete details: Use bypass diodes or microinverter systems to reduce shading losses, conduit and junction boxes rated for outdoor PV as per NEC 690, permitting intervals vary from 2 to 6 weeks, and installers adhere to UL 2703 standards for waterproof mounting system integrity.
Solar Plus Garden Community and Investment Interplay with Solar Installation
Solar Plus Garden integrates large-scale solar power investment with community engagement through membership and agricultural programs, providing additional value beyond direct home solar ownership.
The core 10 MW solar power system generates stable revenue streams allocated partially to fund community garden activities managed separately from the solar asset-owning entity. This separation ensures clear legal and financial boundaries.
Tuinlidmaatschap requires a one-time €200 fee, enabling participation in community-based regenerative agriculture initiatives. An optional membership upgrade includes the Tuinbak subscription at €20 monthly, delivering 18 shipments per year of fresh, locally grown vegetables sourced through community gardens.
This model enables small and medium investors to engage with renewable energy projects while fostering local food security and sustainability. It also allows non-investors membership access funded indirectly through solar revenue, expanding community impact.
Concrete details: The 10 MW solar project financially supports a separate legal entity managing Garden membership; membership costs €200 one-time with optional €20/month Garden boxes delivered 18 times annually, emphasizing transparency and regulated structure between Estonian OÜ and Serbian DOO legal entities.
Frequently Asked Questions about Solar Panel Installation
- How long does it typically take to install solar panels at home?
- Solar panel installation on residential roofs typically spans 1 to 3 days for system sizes between 3-6 kW. Permitting and electrical inspections add an additional 2 to 6 weeks, depending on local jurisdiction.
- Do I need a professional solar installer or can I do it myself?
- Professional solar installers ensure adherence to electrical codes (NEC 2020 or local equivalents), safely install mounting and wiring, and optimize system performance. Many locales require certified installers for permits and grid connection approval. DIY kits exist but carry higher risks and regulatory barriers.
- What maintenance is required after solar panel installation?
- Maintenance includes periodic panel cleaning based on environmental dust levels, annual inspection of mounting hardware for corrosion or looseness, and routine testing of inverters and other BOS components for fault detection and efficiency assurance.
- How does the inverter affect the solar power system?
- The inverter converts DC from solar panels into AC for household use. Its sizing and technology type (string inverter, microinverter, or power optimizer) influence system efficiency, shading tolerance, and monitoring capabilities.
After assessing roof suitability and selecting appropriate components, follow precise mounting, wiring, and testing procedures or engage certified solar installers to ensure compliance with safety and electrical codes. Consistent maintenance preserves system output over time. Regulatory conditions and technology developments may affect the process and equipment choices in 2026 and beyond.